OpenAI
Connect OpenAI to run your AI chatbots and AI Conversation replies on ChatGPT models, using your own API key. OpenAI is the most complete of the four AI providers in Whautomate: it searches your documents, understands voice notes and images, and can search the web. To compare it with Google Gemini, xAI (Grok) and Anthropic (Claude), see AI providers.
OpenAI bills you directly for what the AI uses, so add billing or credits in your OpenAI account.
Before you start
- An OpenAI account with billing or prepaid credits set up. If credits run out, AI replies fail until you top up.
- You need to be an admin in Whautomate.
Step 1: Create an API key in OpenAI
- Sign in to the OpenAI platform.
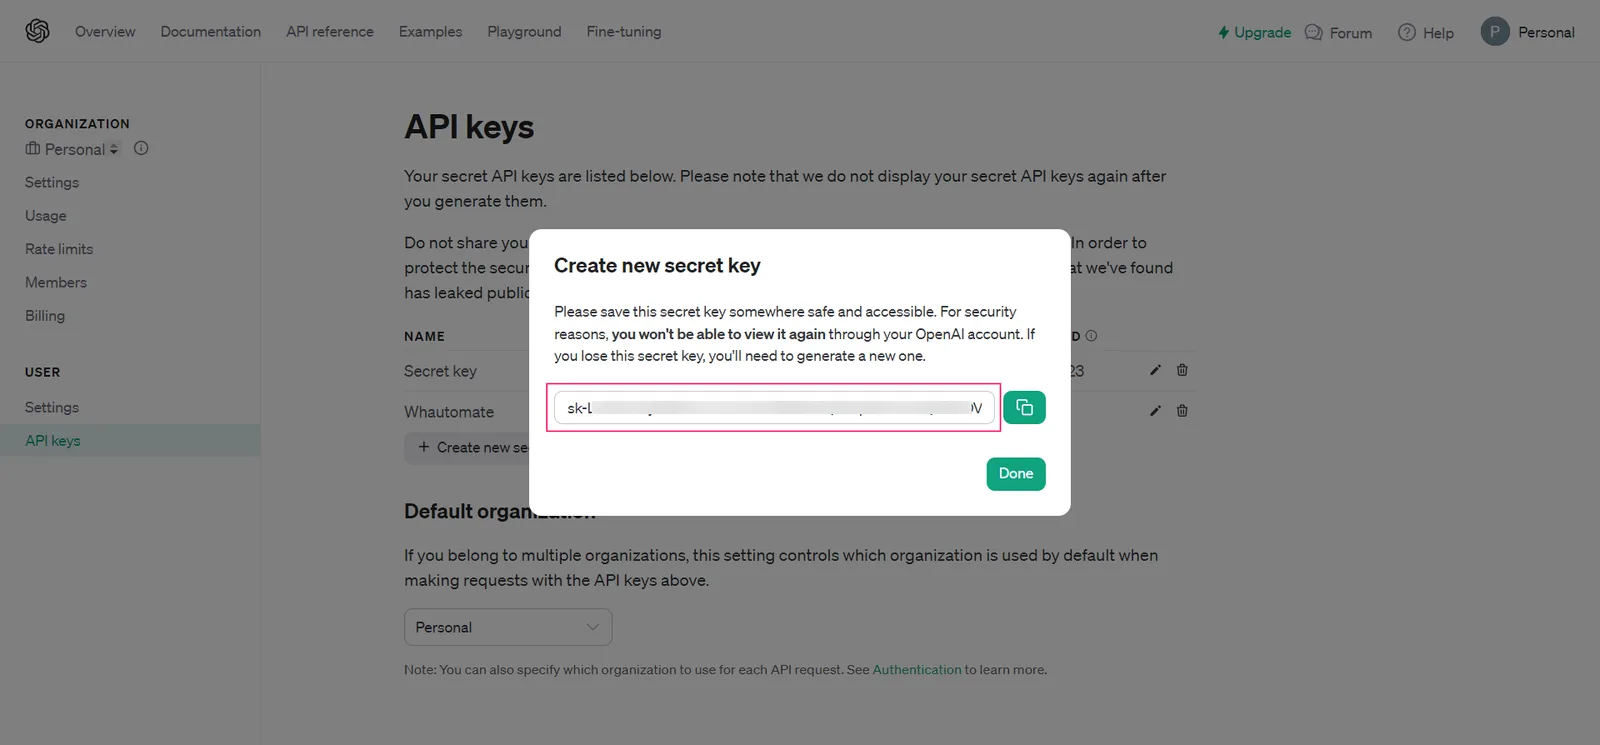
- Open API keys and click Create new secret key.
- Give it a name, for example "Whautomate", and create it.
- Copy the key straight away. OpenAI shows it only once.
Step 2: Connect OpenAI
-
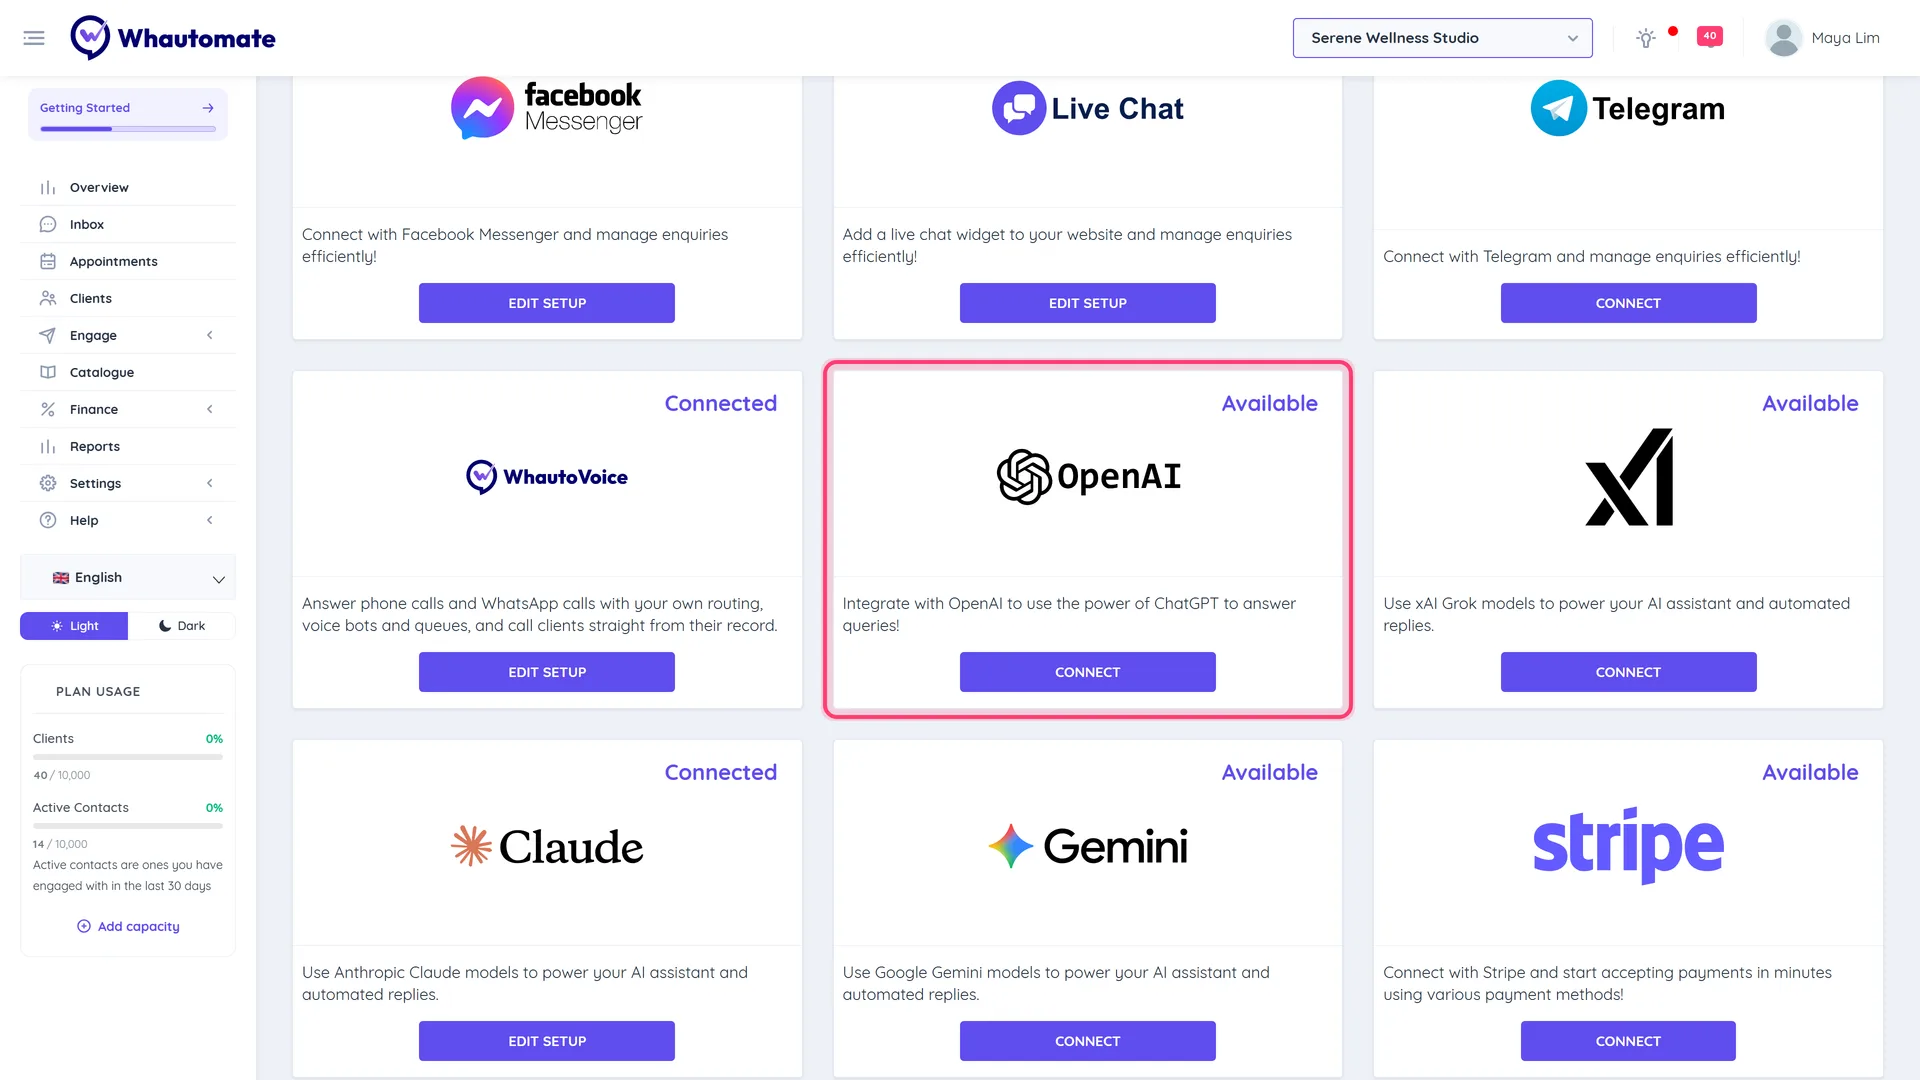
Go to Settings > Integrations and click Connect on the OpenAI card.
-
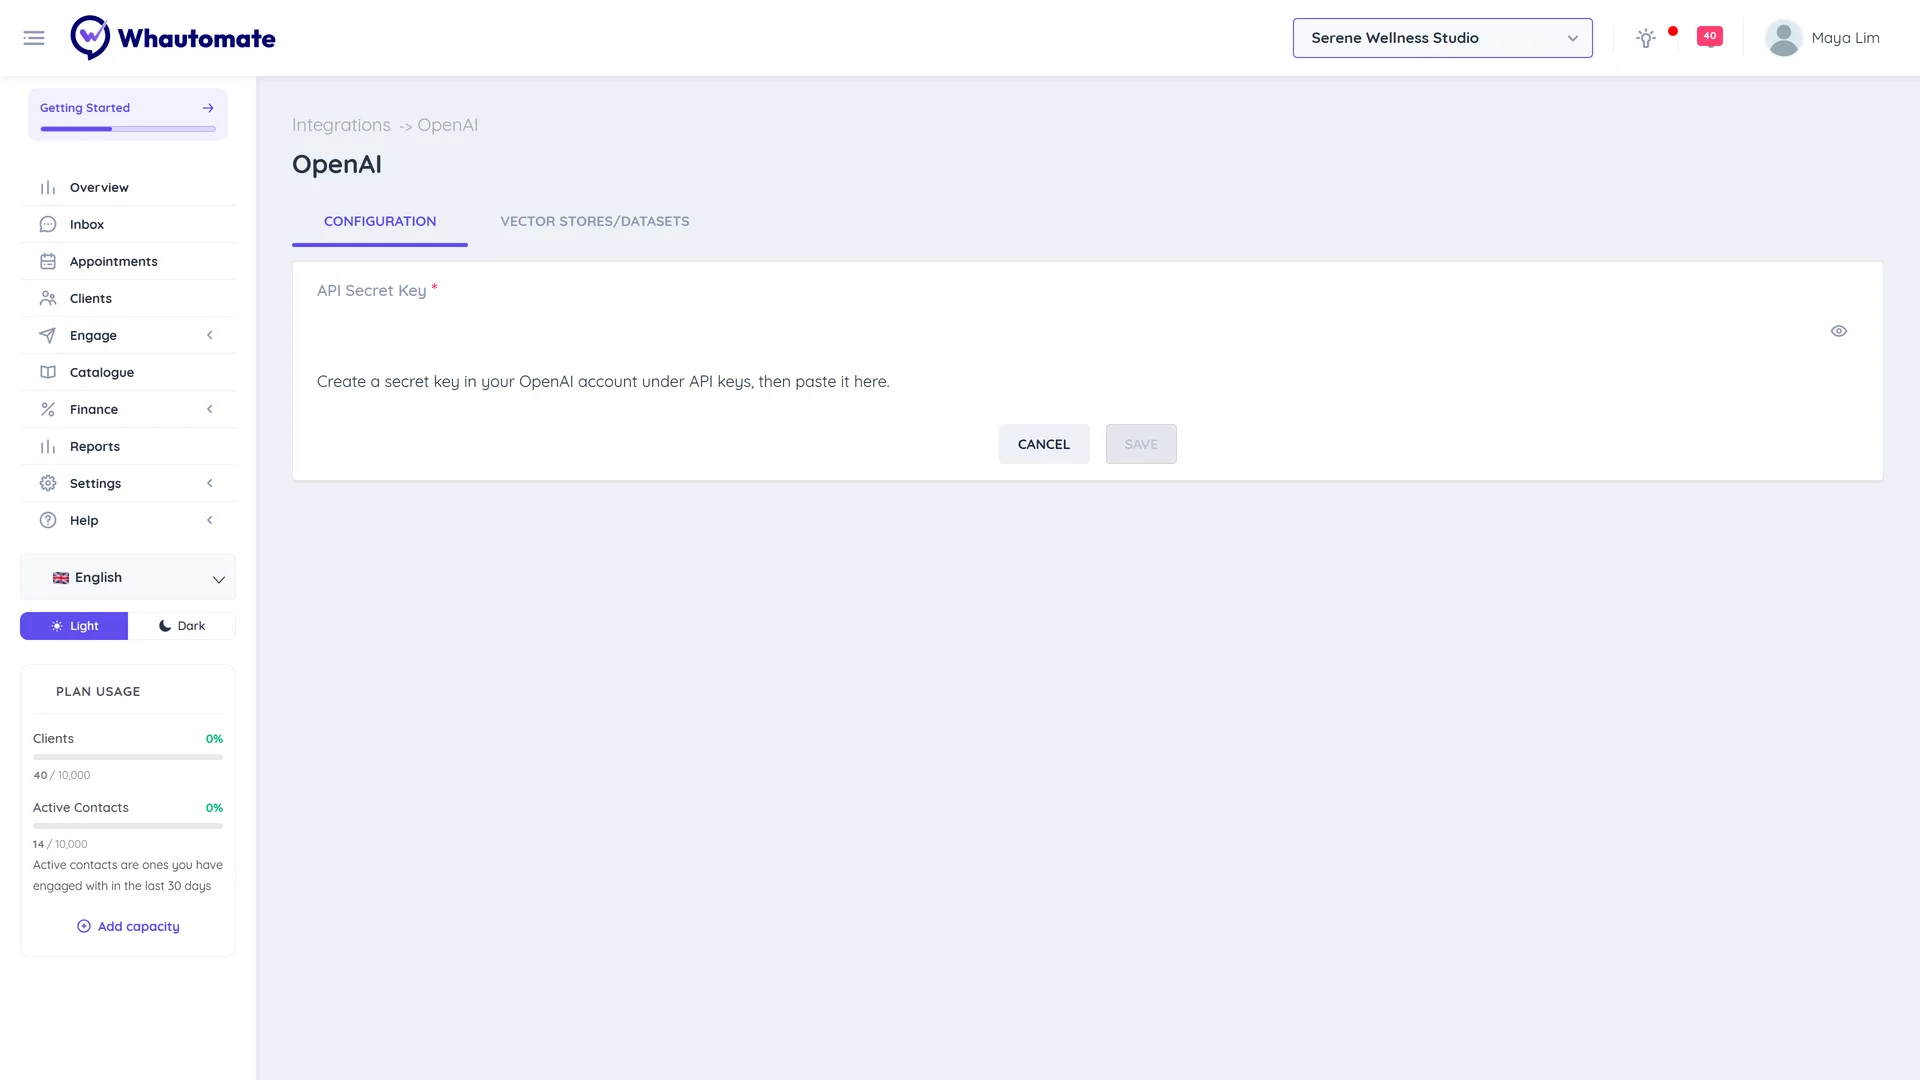
On the Configuration tab, paste the key into API Secret Key.
-
Click Save. You see The OpenAI configuration is saved successfully!
The card on the Integrations page now shows Connected. To change the key later, click Edit Setup, paste the new key and save.
Step 3: Add a knowledge base (vector store)
A vector store lets the AI search your own documents, such as a price list, FAQ or service menu, and answer from them instead of from general knowledge.
- On the OpenAI page, open the Vector Stores/Datasets tab.
- Click Add Vector Store, enter a Name (for example "Customer FAQ") and click Save.
- Click View & Add Files on the vector store, then Add File.
- Choose a file (Select File (Max 16MB)). Supported formats: PDF, DOC, DOCX, PPTX, TXT, HTML.
- Optional: open Advanced options to set the Chunk size (tokens) (default 800, between 100 and 4096) and Chunk overlap (tokens) (default 400, at most half the chunk size). Leave the defaults unless you have a reason to change them.
- Click Attach. The file shows its status while OpenAI processes it. Use View File Text to check what was read from it.
Click Refresh to update the list, and Delete File or Delete Vector Store to remove content.
Step 4: Use OpenAI in an automation
- Open the rule with your AI Conversation action and go to its Configuration tab.
- Set AI Provider to OpenAI and pick a Model. The list is loaded live from your OpenAI account, so it shows the models your key can use. For customer conversations a fast "mini" model is a good start.
- On the Built-in Tools tab, turn on Enable File Search and choose your vector store under Knowledge Base.
- Optional:
- Enable Web Search, with Search Context Size (Low, Medium or High). Search Context Size is only offered for OpenAI.
- Understand voice messages, with a Transcription Model (for example gpt-4o-mini-transcribe) and an optional Transcription Language.
- Understand images, with a Vision Model.
- Test it on the Playground tab, then save the rule.
GPT-5 and o-series models are reasoning models: Reasoning Model switches on by itself and Reasoning Effort replaces Temperature and Top P. See AI Conversation for every setting.
Your key and Whautomate AI credits
- AI chatbots and AI Conversation replies always run on your own OpenAI key. OpenAI bills you; they do not use Whautomate AI credits.
- Built-in AI features, such as Generate with AI in the inbox, message translation and generating WhatsApp templates with AI, run on Whautomate's own AI and use the AI credits on your plan. They work without an OpenAI key. See Whautomate add-ons for credit packs.
Troubleshooting
- The dashboard shows "Action required: AI replies are failing because your OpenAI account is out of credits." Click Add credits to top up in your OpenAI account. The warning clears after the next successful AI reply. Until then, the action's Failure Message is sent instead.
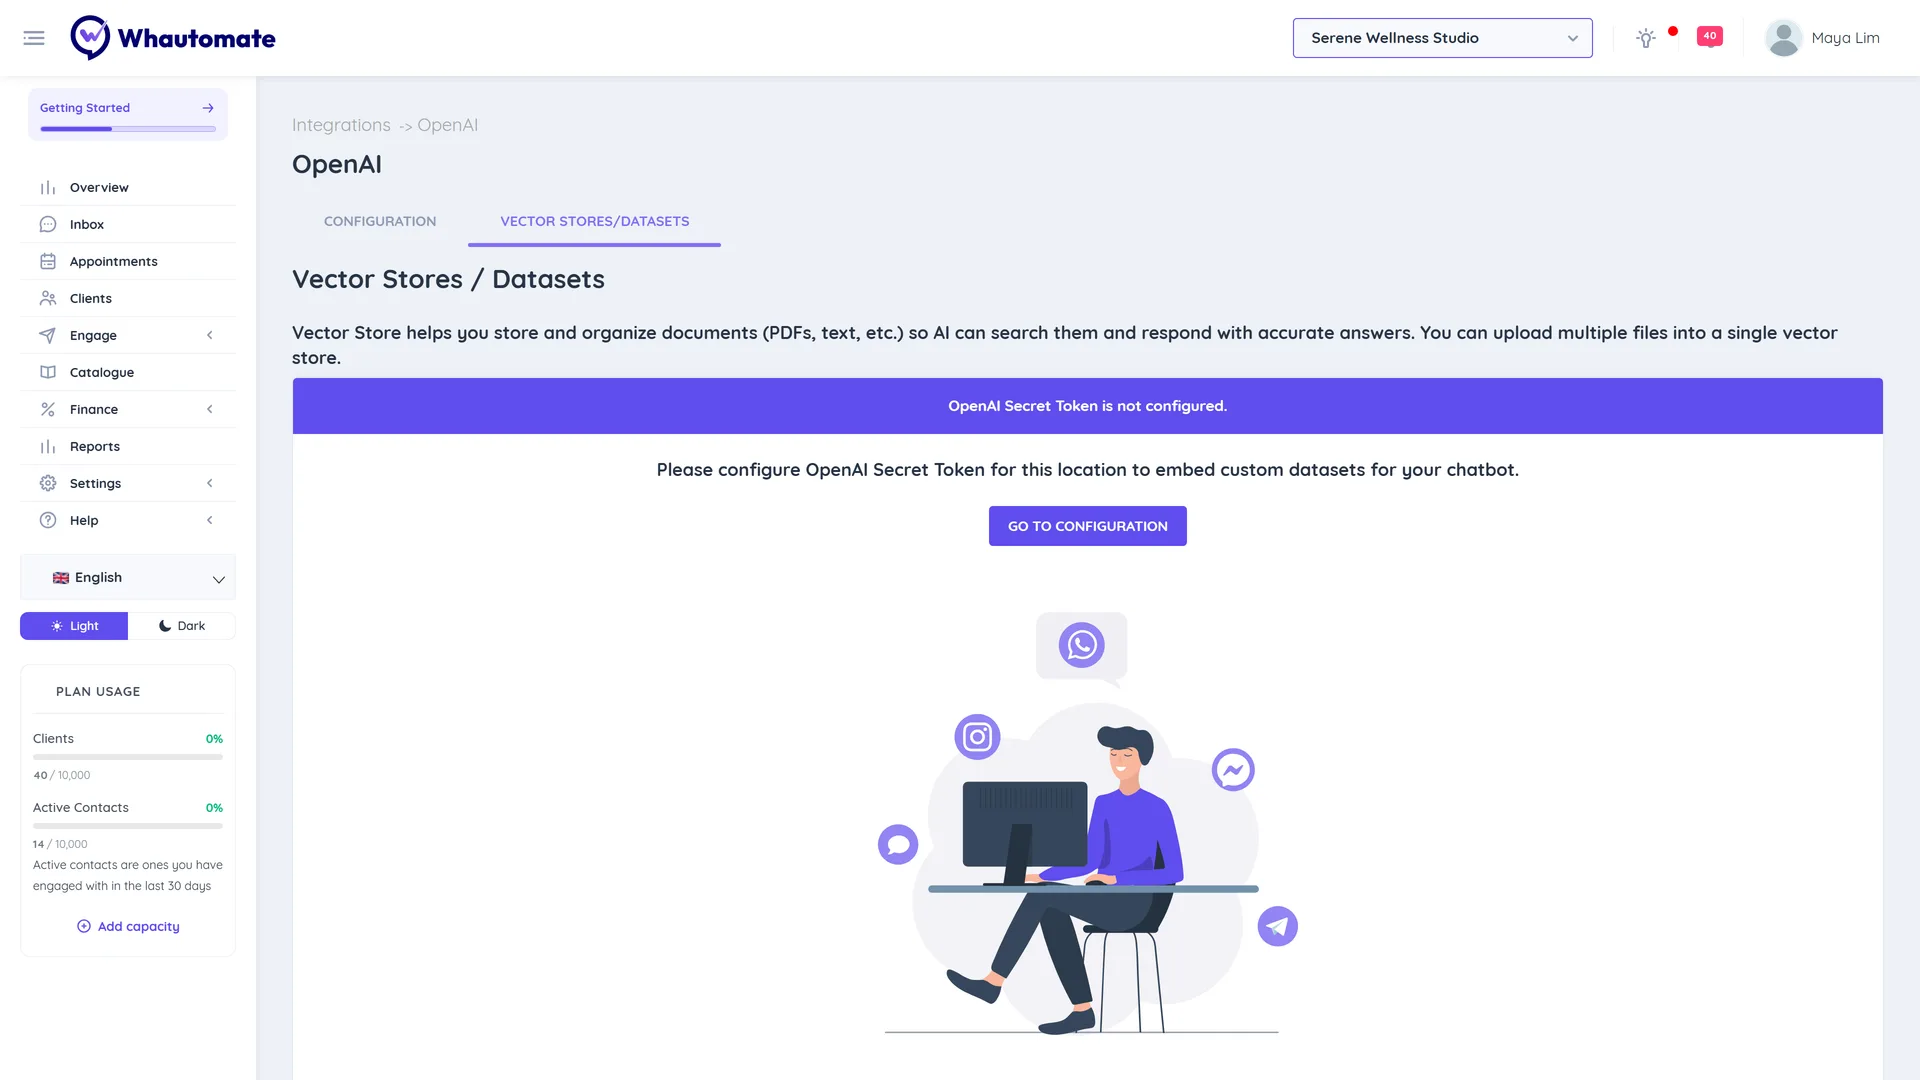
- The Vector Stores/Datasets tab says "OpenAI Secret Token is not configured." Save your key on the Configuration tab first, or click Go to Configuration.
- The model list is empty or shows an error. The key is wrong, revoked or has no access to models. Create a new key in OpenAI and save it again.
- The AI does not use your documents. Check that Enable File Search is on, the right Knowledge Base is selected, and the file has finished processing.
- A key has leaked. Revoke it in OpenAI, create a new one and save it here.