Setup Class Booking Portal
Your booking portal shows your class timetable so clients can pick a session and book a spot from their phone. It uses the same branded portal as appointments; this page covers the class-specific setup and what clients see.
Prerequisites
- The portal is set up and enabled. See Setup the Booking Portal.
- Class services with Allow Online Appointment on and sessions scheduled. See Setup Classes.
Steps
- Go to Settings > All Settings > Online Booking & Store and check that Enable Online Bookings is on (Manage Sections tab) and Enable Portal is on (Portal Settings tab).
- Go to Settings > All Settings > Digital Appointment > Class tab and set:
- Display Remaining Slots Available to show how many spots are left.
- Enable Waitlist for Classes to let clients join a waitlist when a class is full.
- Booking Window Ahead for Clients and Cancellation Deadline for Clients.
- Hide Staff Name For Class if you do not want to show instructors.
- Click Save.
- To share a direct link to your classes, go to Catalogue > Services, click Get Booking Link, choose Service Type Class or Group Event (and optionally a Category) and click Generate Link.
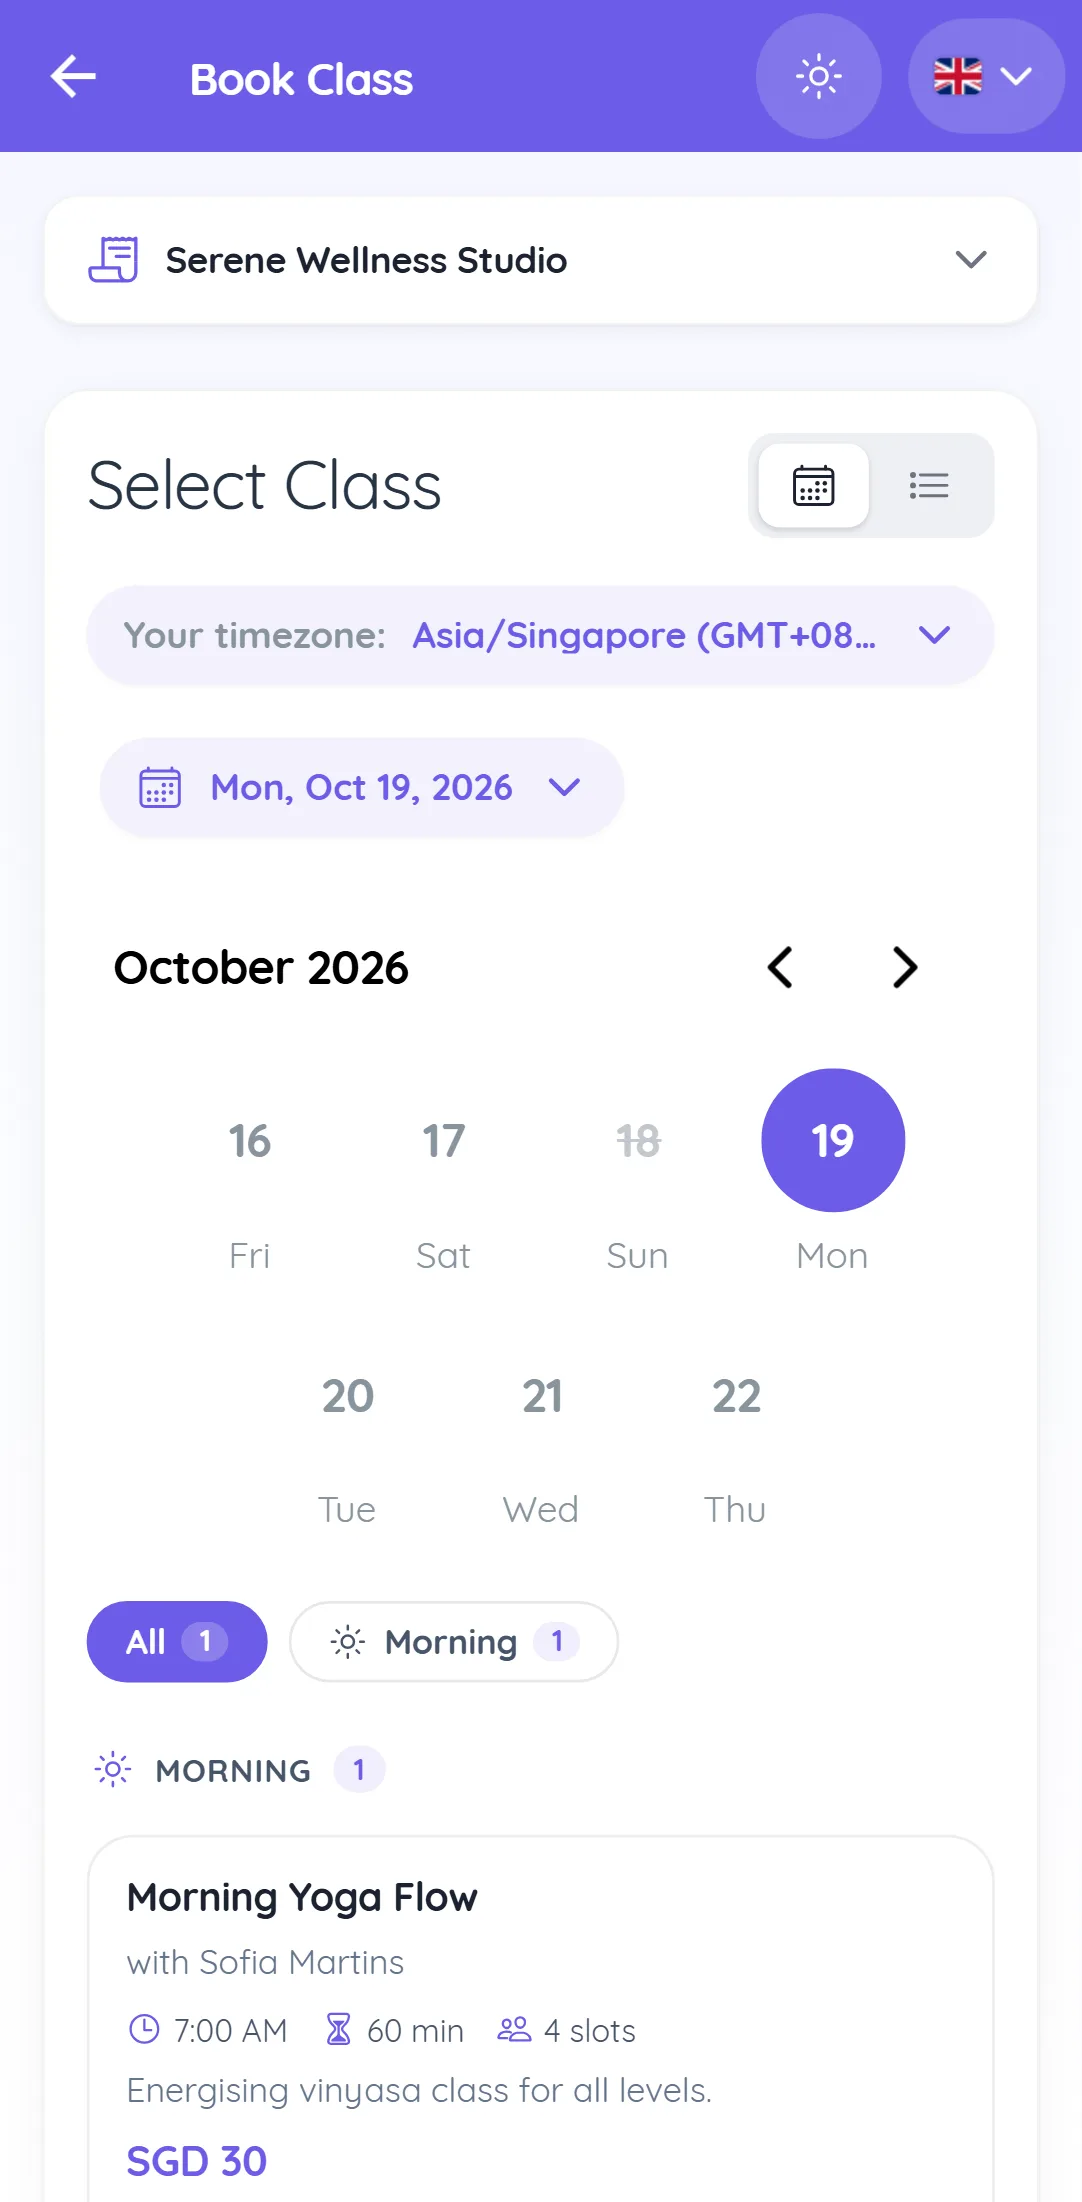
What clients see
- Book Class on the home page opens the schedule, by date or as a list of upcoming classes, with the price or credits per class.
- Select Class, then their details, then Book Class. Credits they hold are applied automatically.
- When a class is full and the waitlist is on, the button says Waitlist. They are told they will be notified if a spot opens, and are moved to Booked automatically when someone cancels.
- After booking they can Cancel Class before your deadline, or Invite a friend.
See Customer Booking Portal for the full client experience.