Client Documents
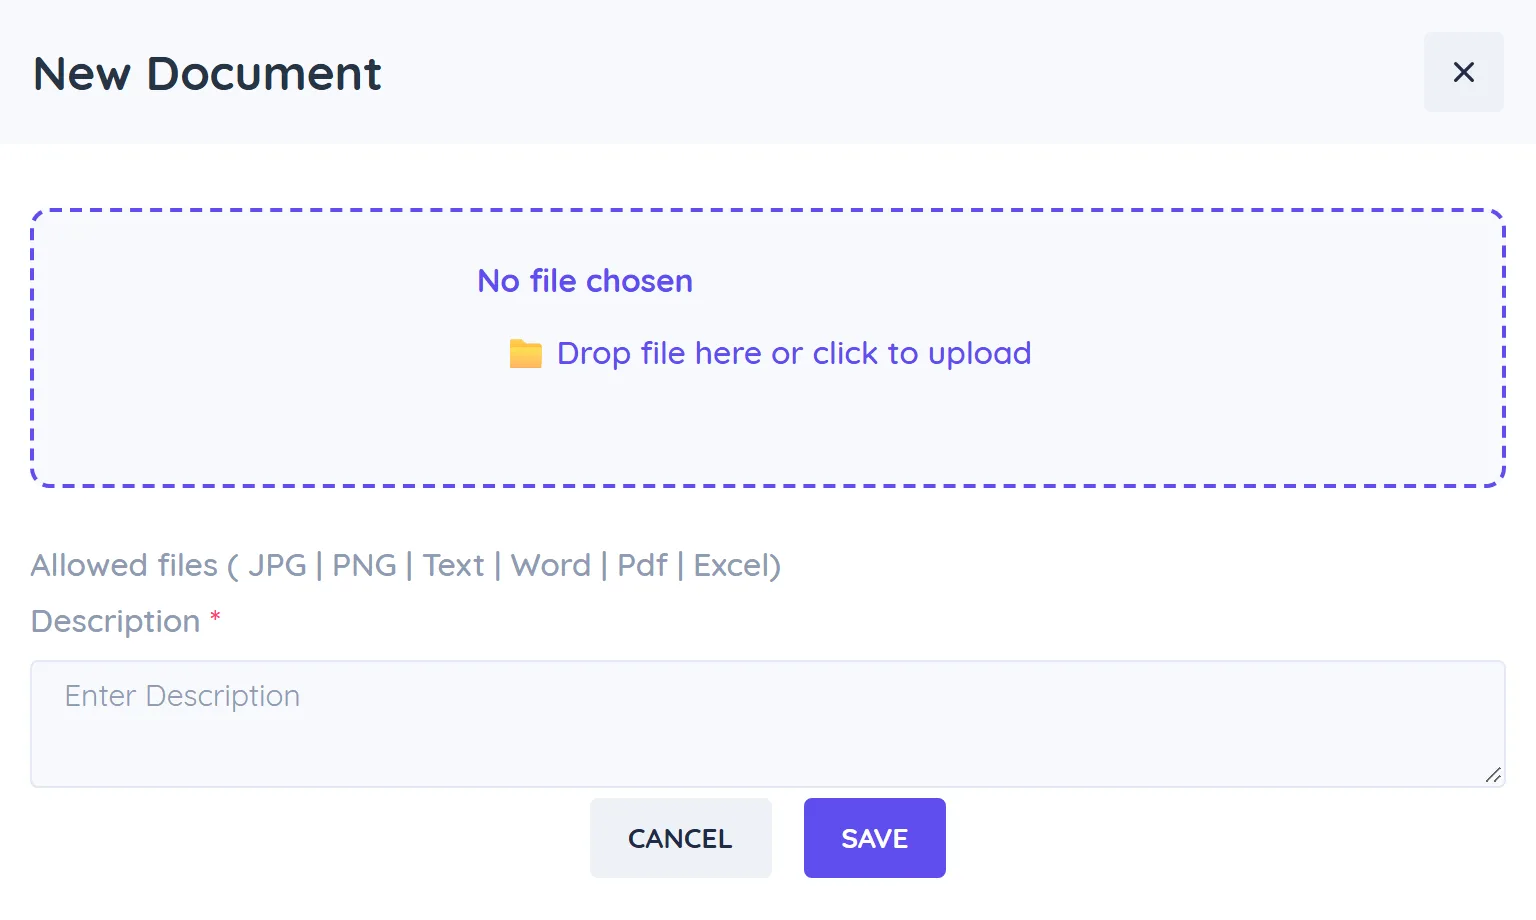
Documents keep a client's files with the client record: a signed waiver, a referral letter, a photo, an intake spreadsheet. Charts let you mark up an image, such as a body outline showing where a client has tension, and save it on the profile. Both live on the Notes tab of the client profile.
Add a document
- Open the client from Clients and click the Notes tab.
- Click + Add New and choose Document.
- Choose the file. Allowed types are JPG, PNG, text, Word, PDF and Excel.
- Enter a Description so the file is easy to find later.
- Click Save.
On the saved document, use the menu to Download it, Share via Email or Share via WhatsApp.
Files that clients upload in a web form or a WhatsApp Flow form are added to their documents automatically when Save to client documents is on for that question.
Add a chart
- On the Notes tab, click + Add New and choose Chart. The chart editor opens full screen.
- In the Images panel, click a chart template, or Upload image to use your own (PNG, JPEG or WebP, up to 10 MB). A chart can hold up to 6 images; each new one goes to the right of the last. Leave it empty to draw on a blank chart.
- Pick a tool, a Colour and a Size (Thin, Medium or Thick), then mark up the chart:
- Pen to draw freely and Highlight to shade an area, for example where it hurts.
- Pin drops a numbered pin; refer to the numbers in your notes.
- Text, Arrow, Line, Circle and Box.
- Eraser removes a mark you click or drag over.
- Select moves or resizes a mark or an image. Press Delete to remove the selected one.
- Undo and Redo step through your changes. Clear marks removes every drawing, pin and text but keeps the images.
- Click Save to save and keep editing, or Save & close. If you click Close with unsaved changes, the editor asks first.
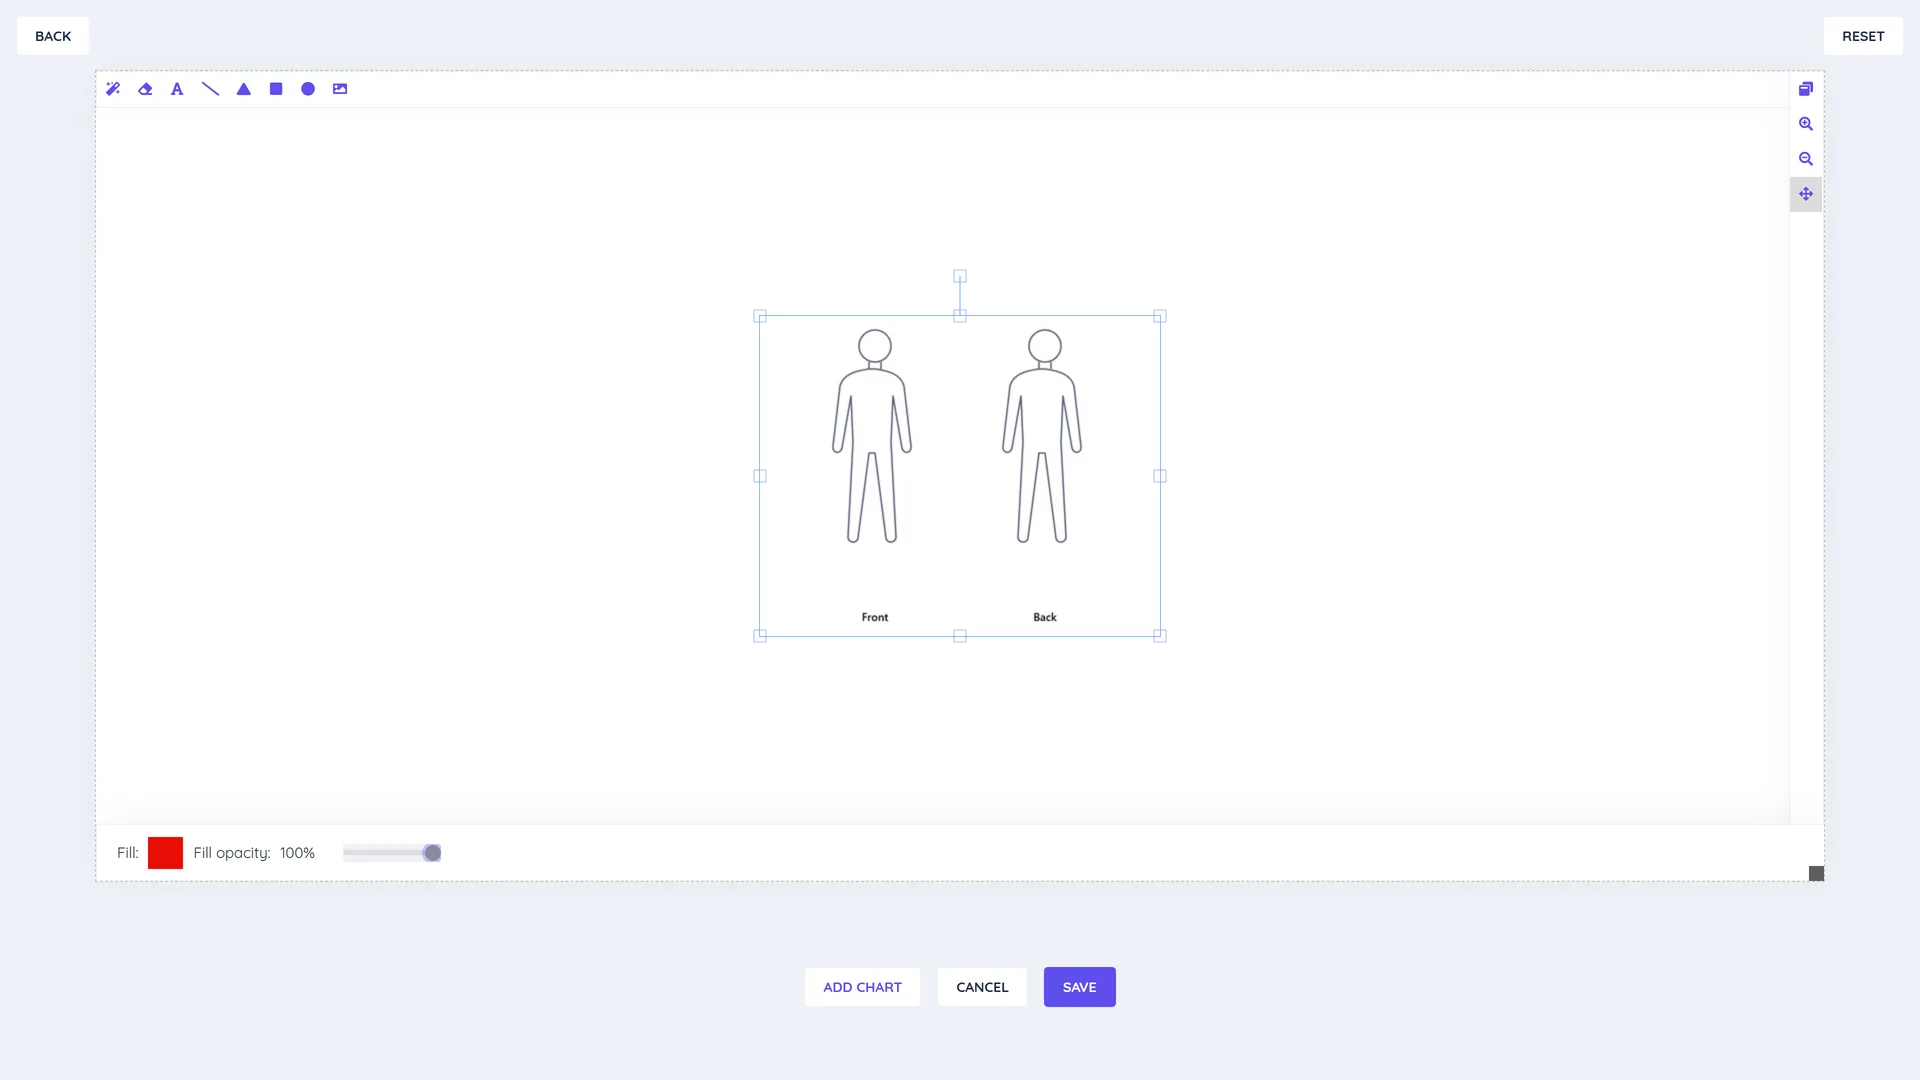
Charts made before this editor still open. Their earlier marks are part of the image and cannot be moved, but you can add new marks on top.
Charts take image files (PNG, JPEG, WebP or GIF). Every image is redrawn when it is added, so only its pixels are kept. To keep a PDF or Word file on the client, add it as a document.
Set up chart templates
- Go to Settings > Chart Templates (under Templates), or click Manage chart templates in the chart editor's Images panel.
- Click Browse and upload the image you want to use as a chart. Use a PNG, JPEG or WebP image: other files, such as SVG or PDF, cannot be loaded in the chart editor.
- Click Save.