Expenses
Expenses let you record what your business spends, such as rent, supplies, marketing and utilities, next to what it earns. Each expense has a date, category, vendor, amount, tax and receipt, and moves through a simple approval flow. Use it to keep receipts in one place and give your accountant a clean export.
Before you start
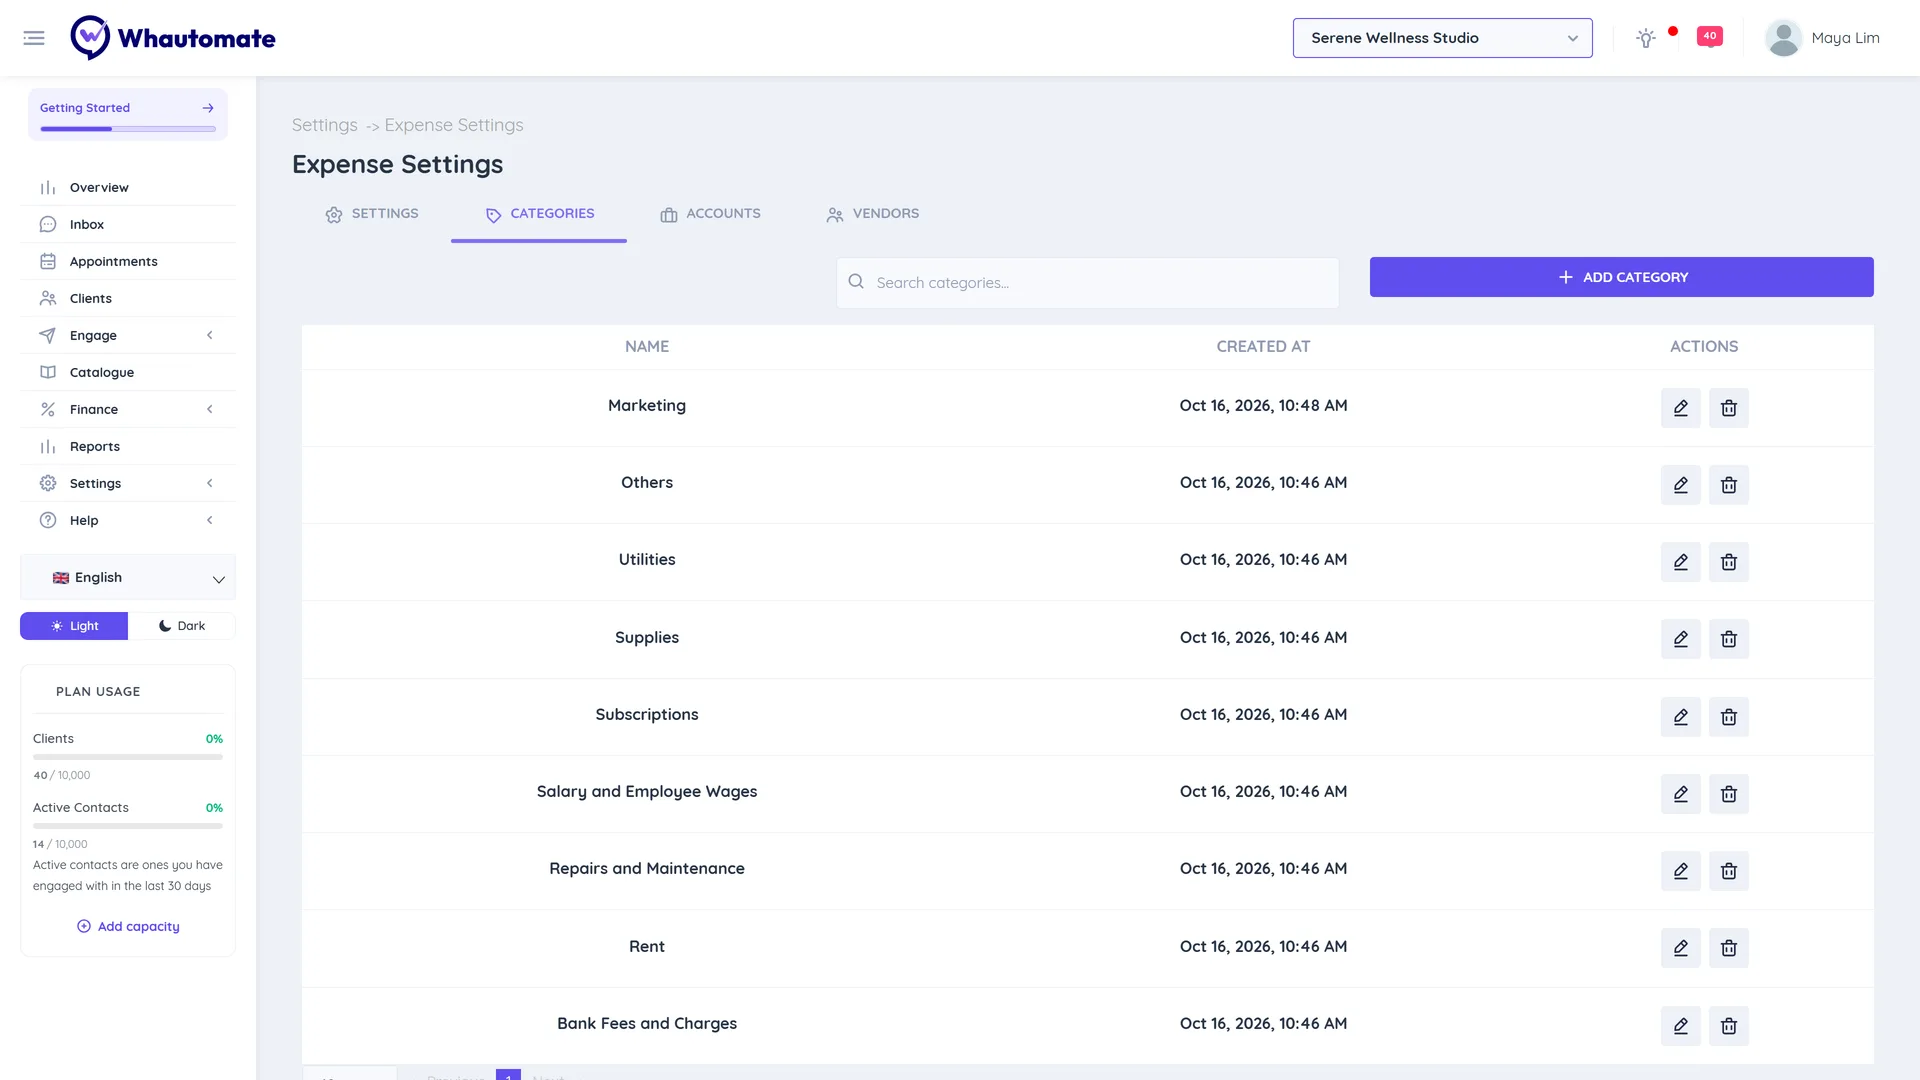
- Default categories (Bank Fees and Charges, Rent, Repairs and Maintenance, Salary and Employee Wages, Subscriptions, Supplies, Utilities, Others) and accounts (such as Cash and Main Bank Account) are ready to use. Add your own in expense settings (below).
Add an expense
- Go to Finance > Expenses and click + Add New Expense.
- Optional: click Set Custom Expense ID to use your own reference instead of the next number.
- Attach the Receipt (JPG, PNG, text, Word, PDF or Excel, up to 20 MB).
- Set the Date, then choose the Category, Vendor and Paid From Account. Each list has an option to add a new one on the spot.
- Enter the Amount and any Tax. The Total is calculated for you.
- Add a Description and click Save.
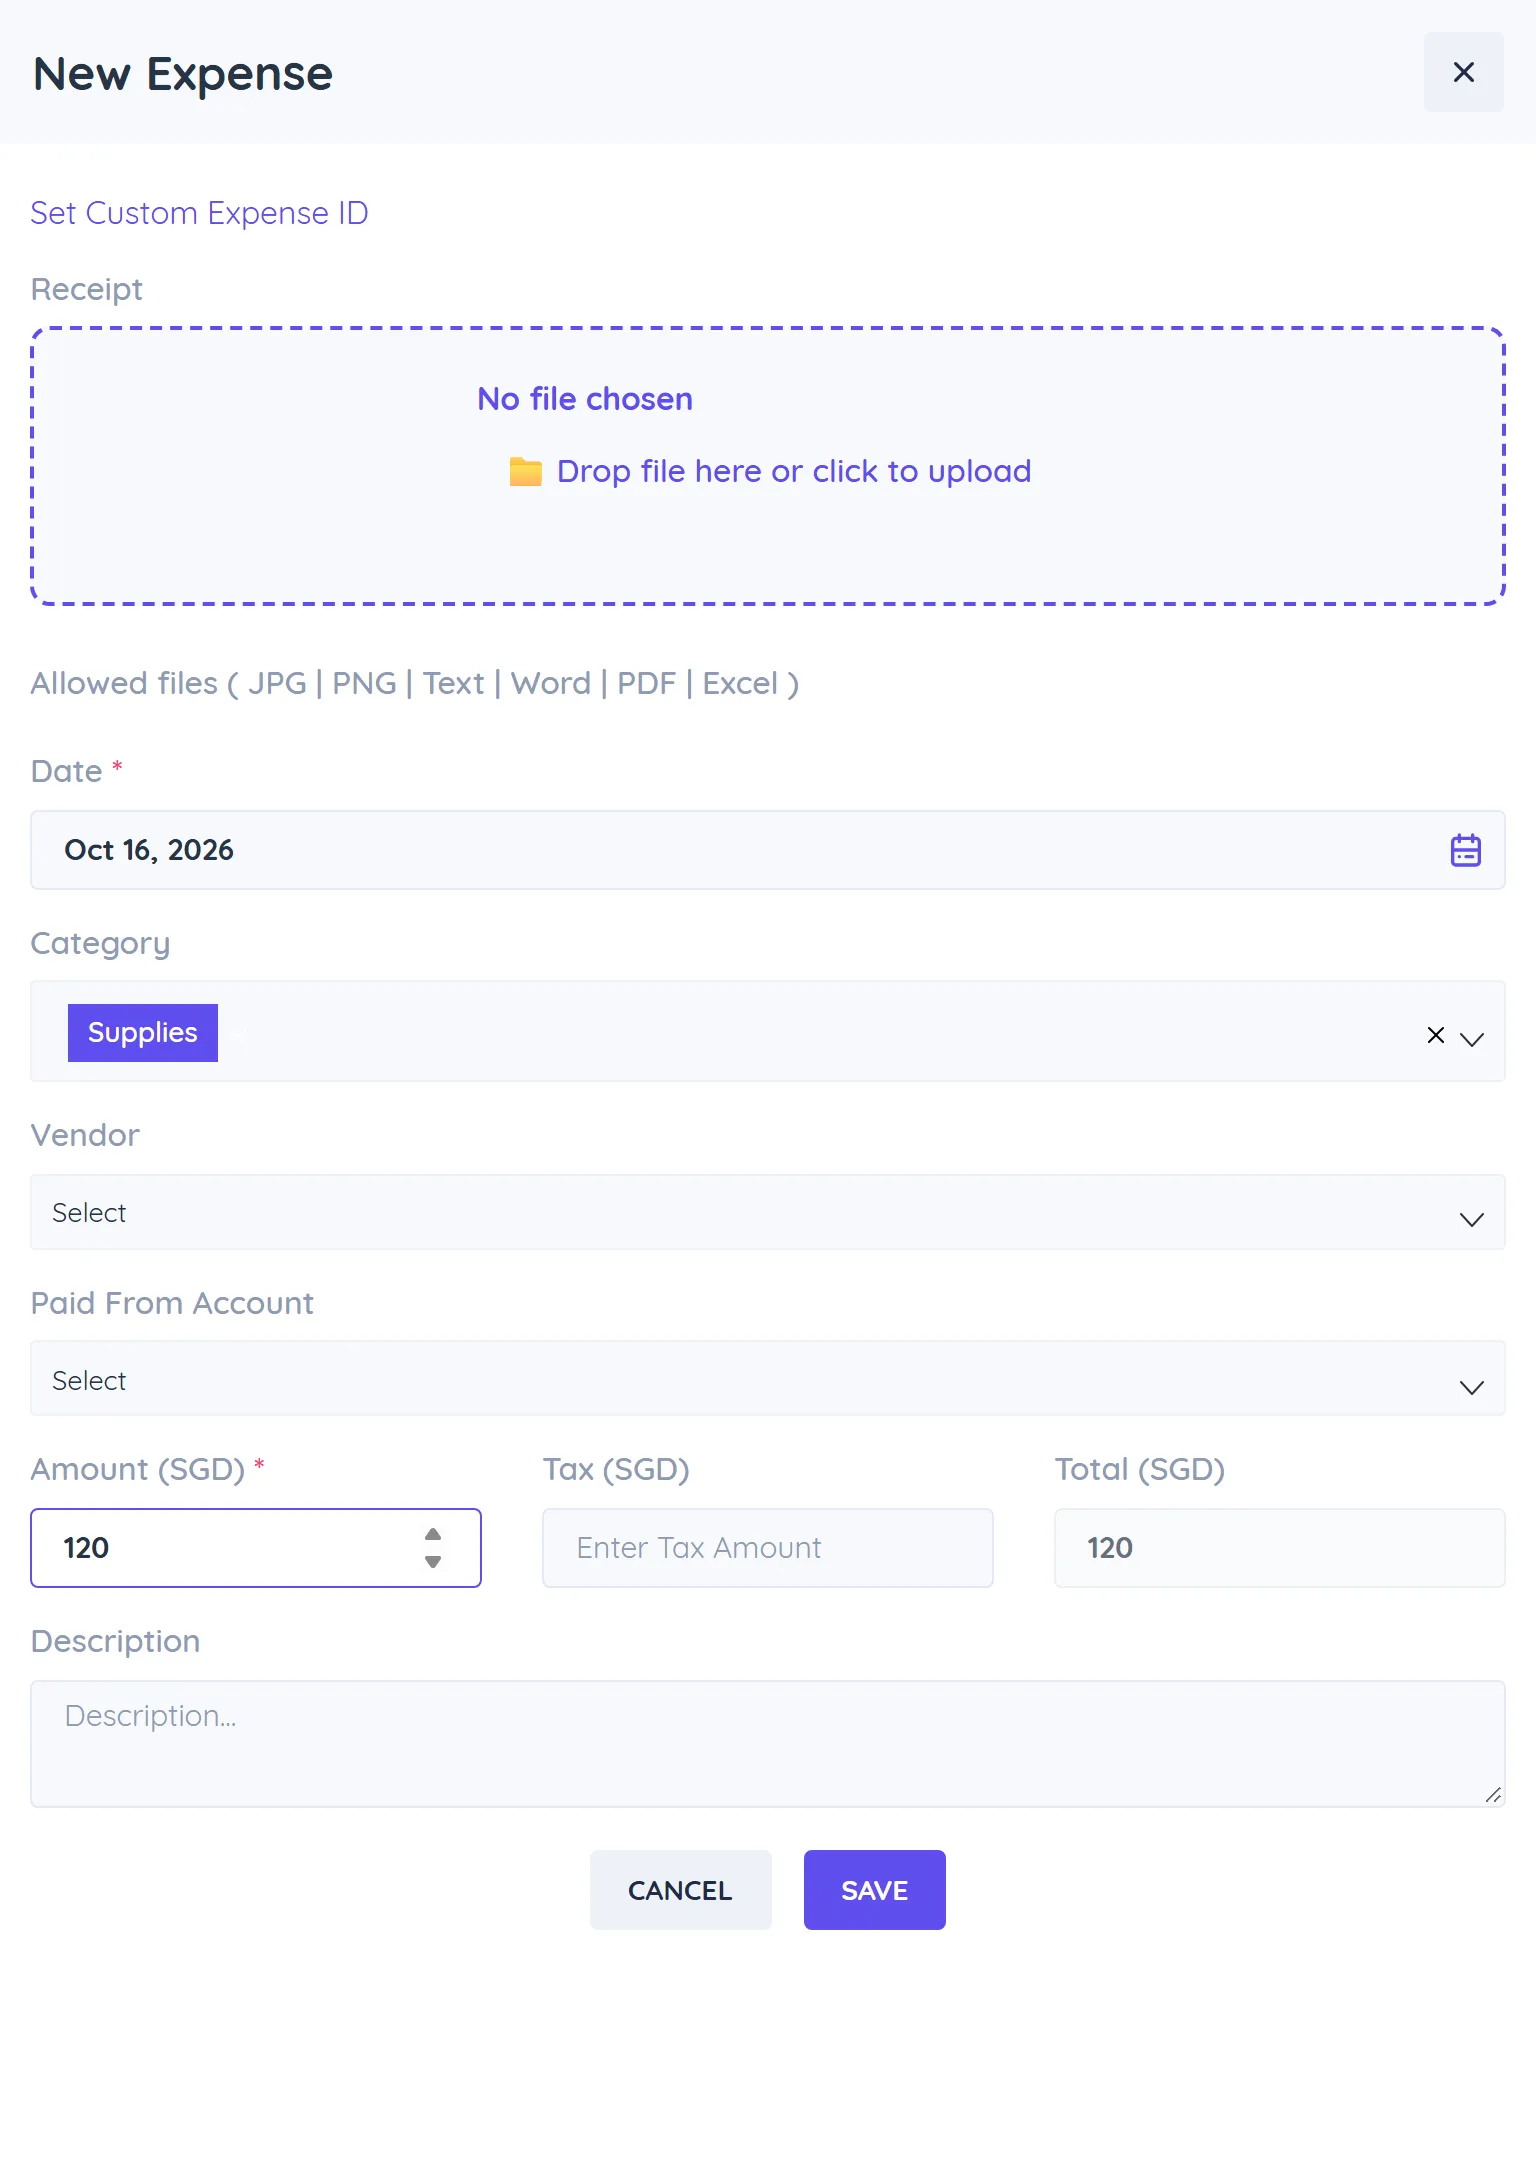
New expenses start as Pending.
Review, approve and pay
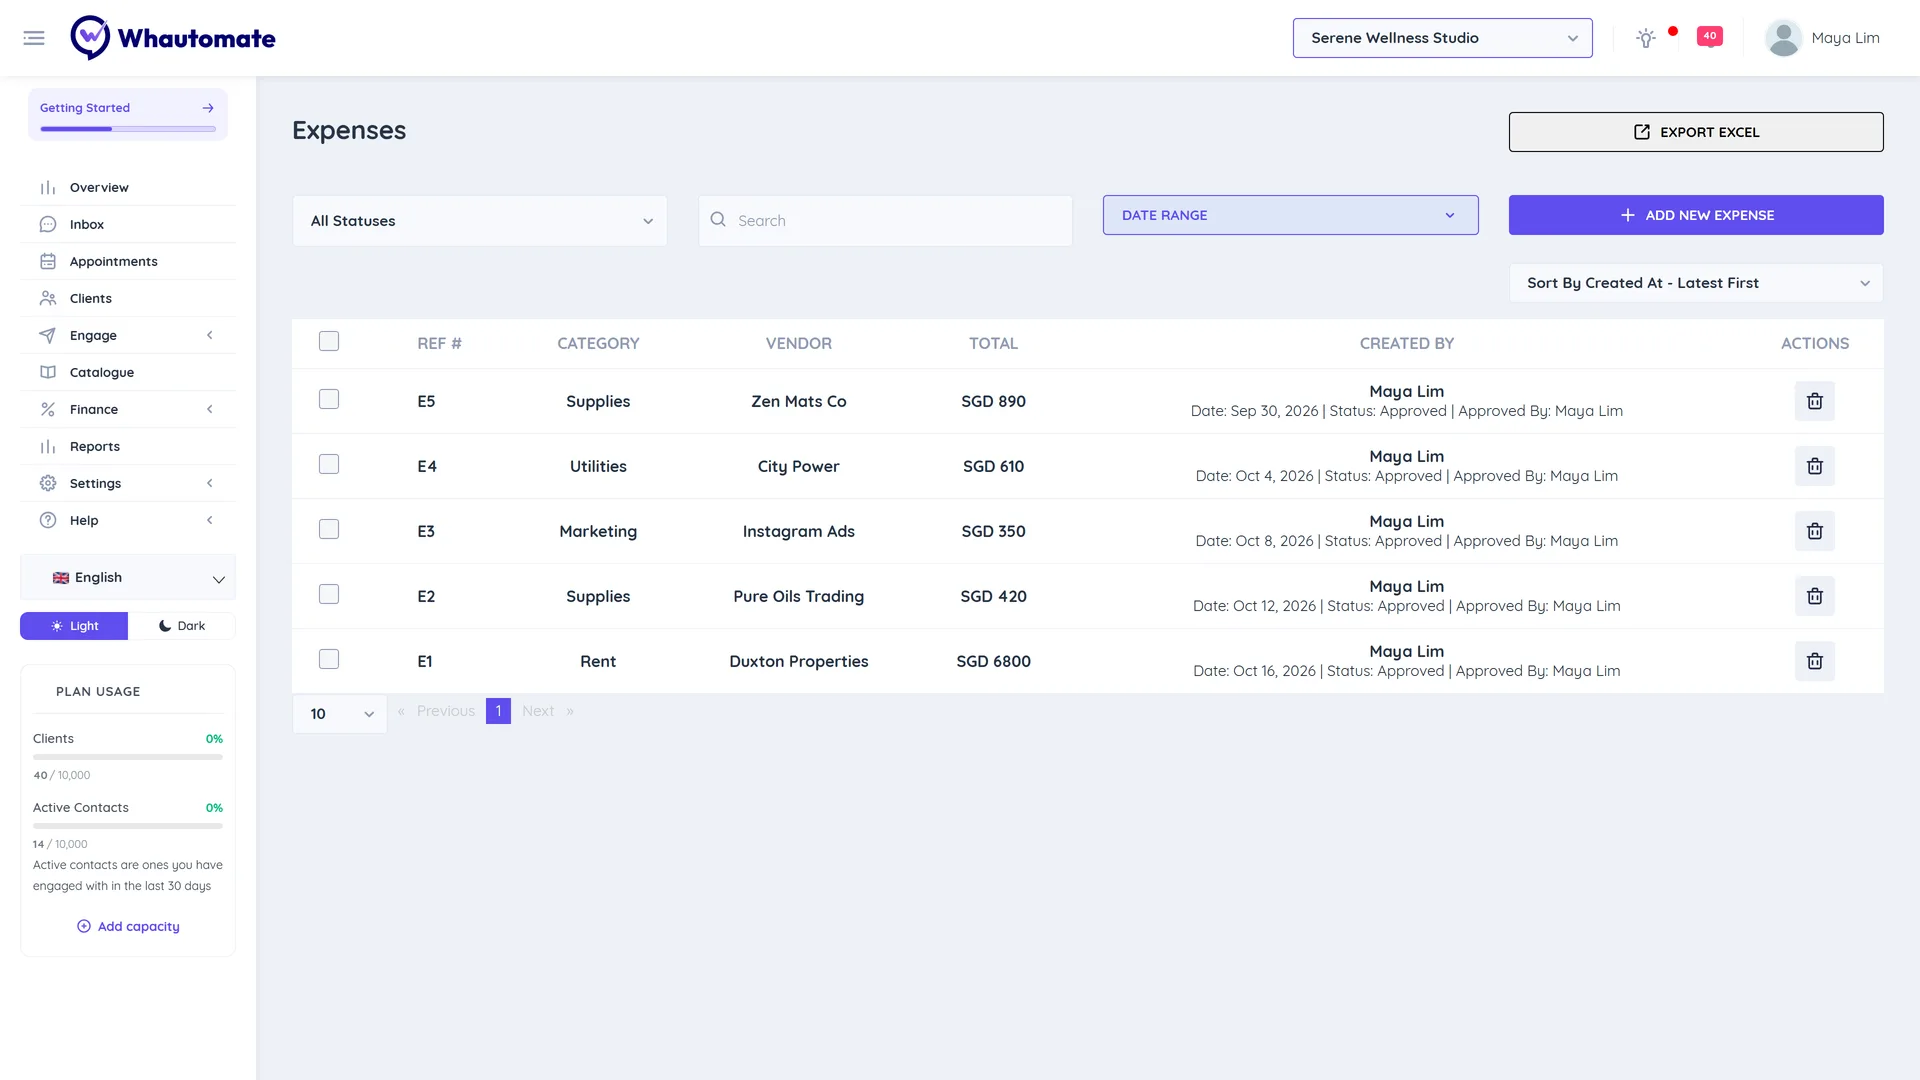
The Expenses list shows Ref #, Category, Vendor, Total and Created By with the date, status and approver. Filter by status (Pending, Review, Approved, Paid), search, use Date Range, or sort.
Owners, administrators and finance managers can tick expenses and choose Approve Expenses, Mark Expenses as Paid or Mark Expenses as Review.
Row actions:
- Edit Expense (only while Pending)
- Delete Expense
- Download Receipt
Export
Click Export Excel to download the filtered list (up to 1,000 rows) with dates, receipt links, categories, vendors, accounts, amounts, tax, status and approver.
Expense settings
Go to Settings and, under Finance, click Expenses. The Expense Settings page has four tabs:
- Settings: under Expense ID Generation, set the Prefix and next Number for expense IDs.
- Categories: click + Add Category and enter a Name.
- Accounts: click + Add Account for the accounts you pay from.
- Vendors: click + Add Vendor and enter the Name, Company Name, Primary Contact, Email, Phone and Address.