Customer Booking Portal
This page walks through your booking portal from the client's side, so you know what they see and can answer their questions. Clients open your portal link on a phone or computer, book in a few taps, and can come back later to reschedule or cancel.
Your portal is set up and enabled. See Setup the Booking Portal.
How a client books an appointment
- On the home page, the client taps Book Appointment for your location.
- Select Service: they filter by category and tap Book on a service. Online and home visit services are tagged Online Session or Home Visit.
- Select Add-Ons (only if the service has add-ons): they pick extras, or tap Skip.
- Select Staff: they pick a team member, or Any Staff available for the most times. This step is skipped when staff selection is turned off, and comes first when the booking flow is Staff First.
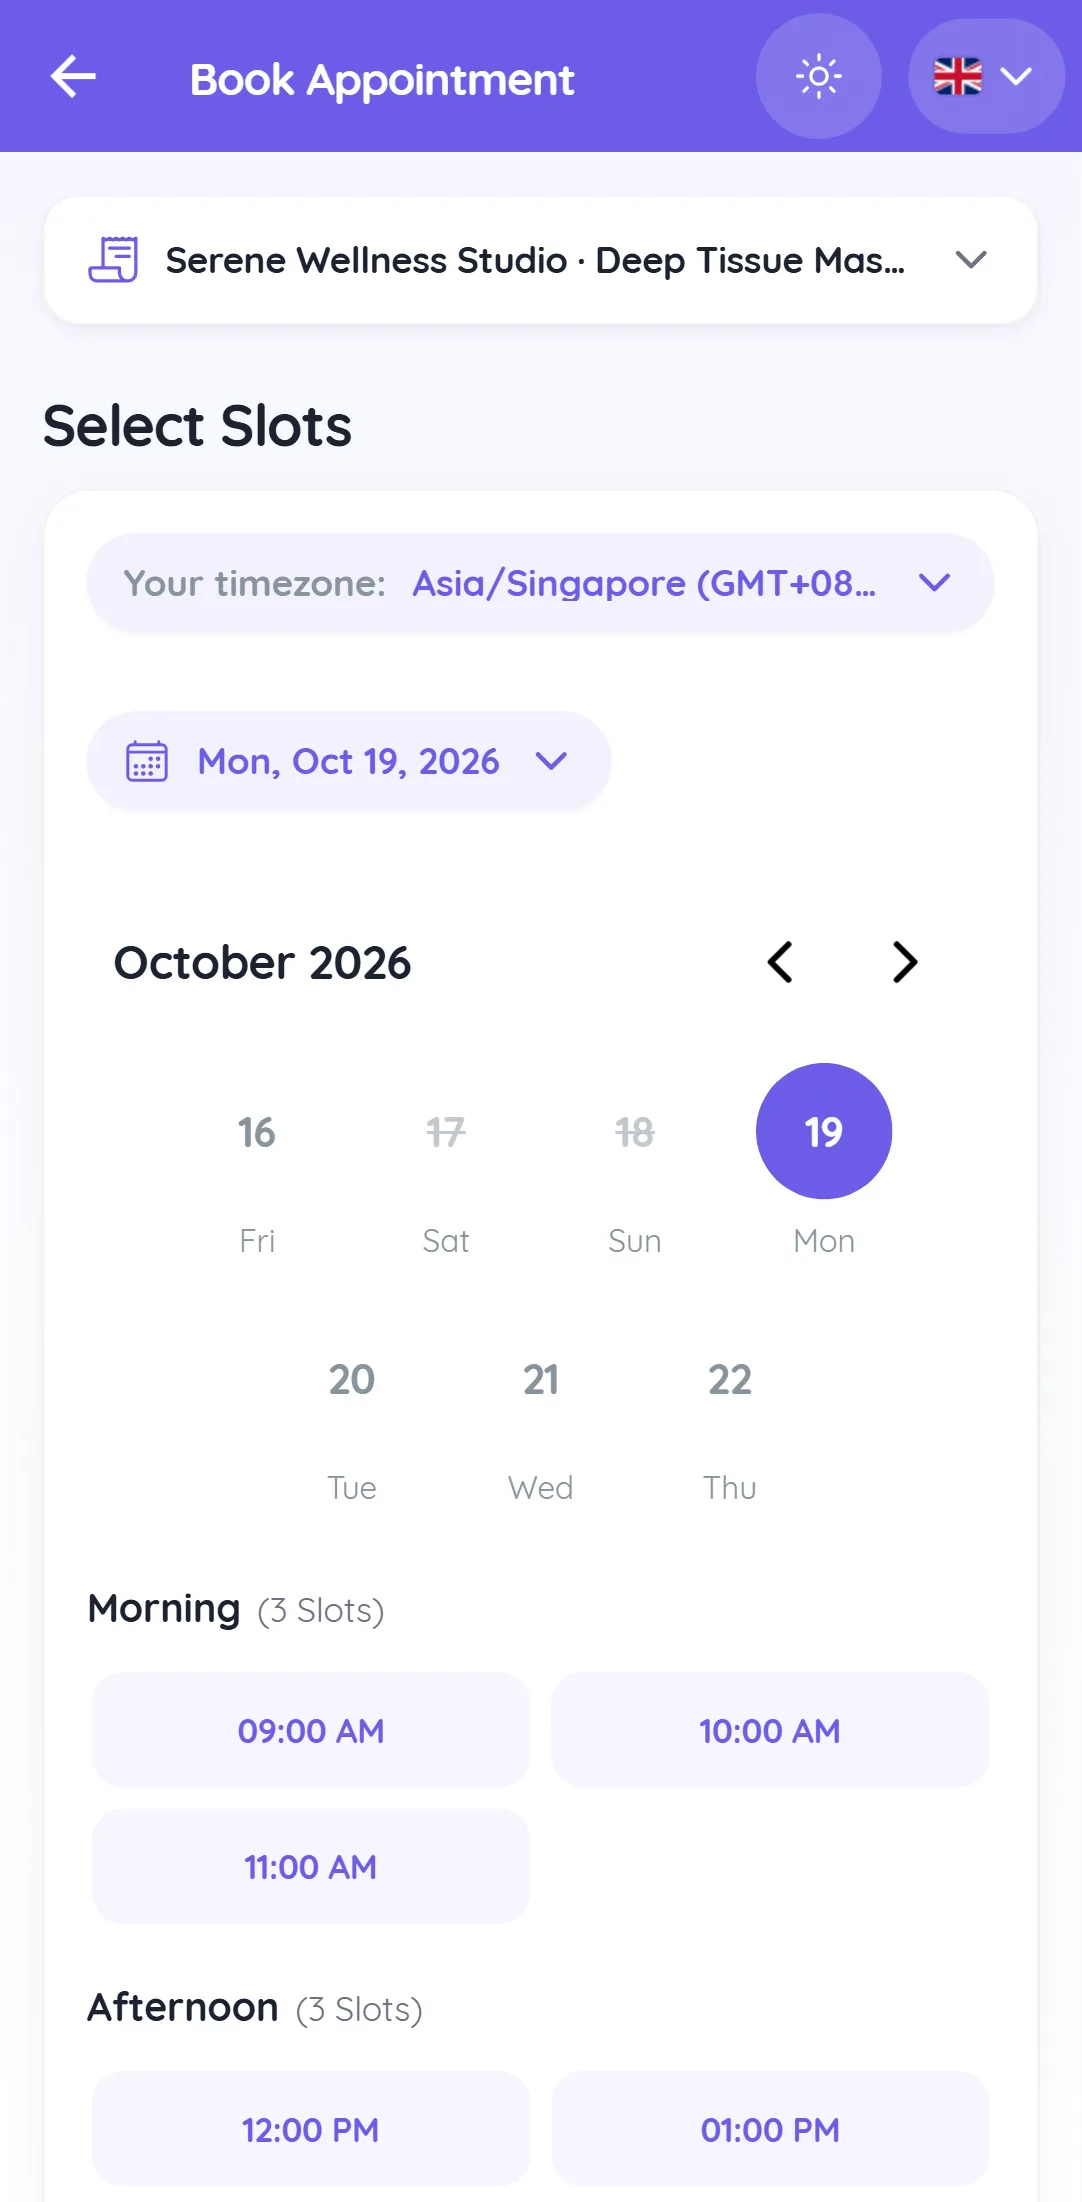
- Select Slots: they pick a date and a time.
- They enter their details: First Name, Last Name, Mobile Number and the booking fields you turned on. If login is required, they verify with a 6-digit code.
- Overview: they check the service, add-ons, time and price. If the service takes online payment they can enter a coupon code; otherwise they see "Please pay the fees at the business location when you visit."
- They tap Book Appointment.
Without payment, the client sees Appointment confirmed with Add to Calendar, Get Directions (or Join Meeting for online sessions), Reschedule and Cancel. With payment, they pay on a secure payment page and then see Booking confirmed. If payment is cancelled, the slot is released and they can Book again. See Online Payment at Booking.
How a client books a class
- The client taps Book Class and browses By Date or Upcoming.
- Each class shows the time, price or credits, and how many spots are left when you show remaining slots.
- They tap Select Class, fill in their details and tap Book Class.
- If the class is full and the waitlist is on, the button says Waitlist: they join the waitlist and are told they will be notified if a spot opens.
Rescheduling and cancelling
Clients can manage bookings from the links in your messages or from their client portal (My portal), which lists their Appointments, Classes, Credits, Orders and Memberships.
- Reschedule: they pick a new slot and confirm the change on Reschedule Confirmation.
- Cancel: they give a Reason for cancellation and tap Cancel Appointment.
Only upcoming Booked or Rescheduled appointments can be changed, and only before the cancellation deadline in Appointment Settings.
Good to know
- Credits the client already has with you are applied automatically when they can be used.
- If a feature is not available on your plan, clients are simply taken to the home page; they never see plan or upgrade wording. Links to existing bookings always keep working.
- Clients who receive a confirmation link see a page asking them to confirm they are coming. See Appointment Double Confirmation.
- Your booking portal is also your online store. If you sell products or plans online, clients switch between Book, Shop and Plans with the tabs at the bottom of the page. See Sell Online with Your Online Store.